

Email & marketing automation
Create, automate, and optimize email campaigns using customer data and flexible workflows


Trusted by 500+ brands, including MaxiAxi, Smartphonehoesjes, and Mailmeisters.
Why choose a European platform
No US law
Our infrastructure is exclusively subject to European law. No CLOUD Act means no access for foreign governments to your customer data.
GDPR By Design
Not made compliant afterwards, but built in accordance with European privacy legislation from the very first line of code.
Own infrastructure
No AWS, no Google Cloud. Own servers in the Netherlands, own technology, full control.
What are you looking for?
From reliable email delivery to powerful marketing automation, choose the solution that fits your needs
Email communication
A powerful email software for business-critical communication. Send transactional, service or notification emails with high deliverability.
Deploy in the cloud or on-premise, maintain full control over your data, and scale effortlessly to millions of emails without compromising speed, security, or performance.
Learn more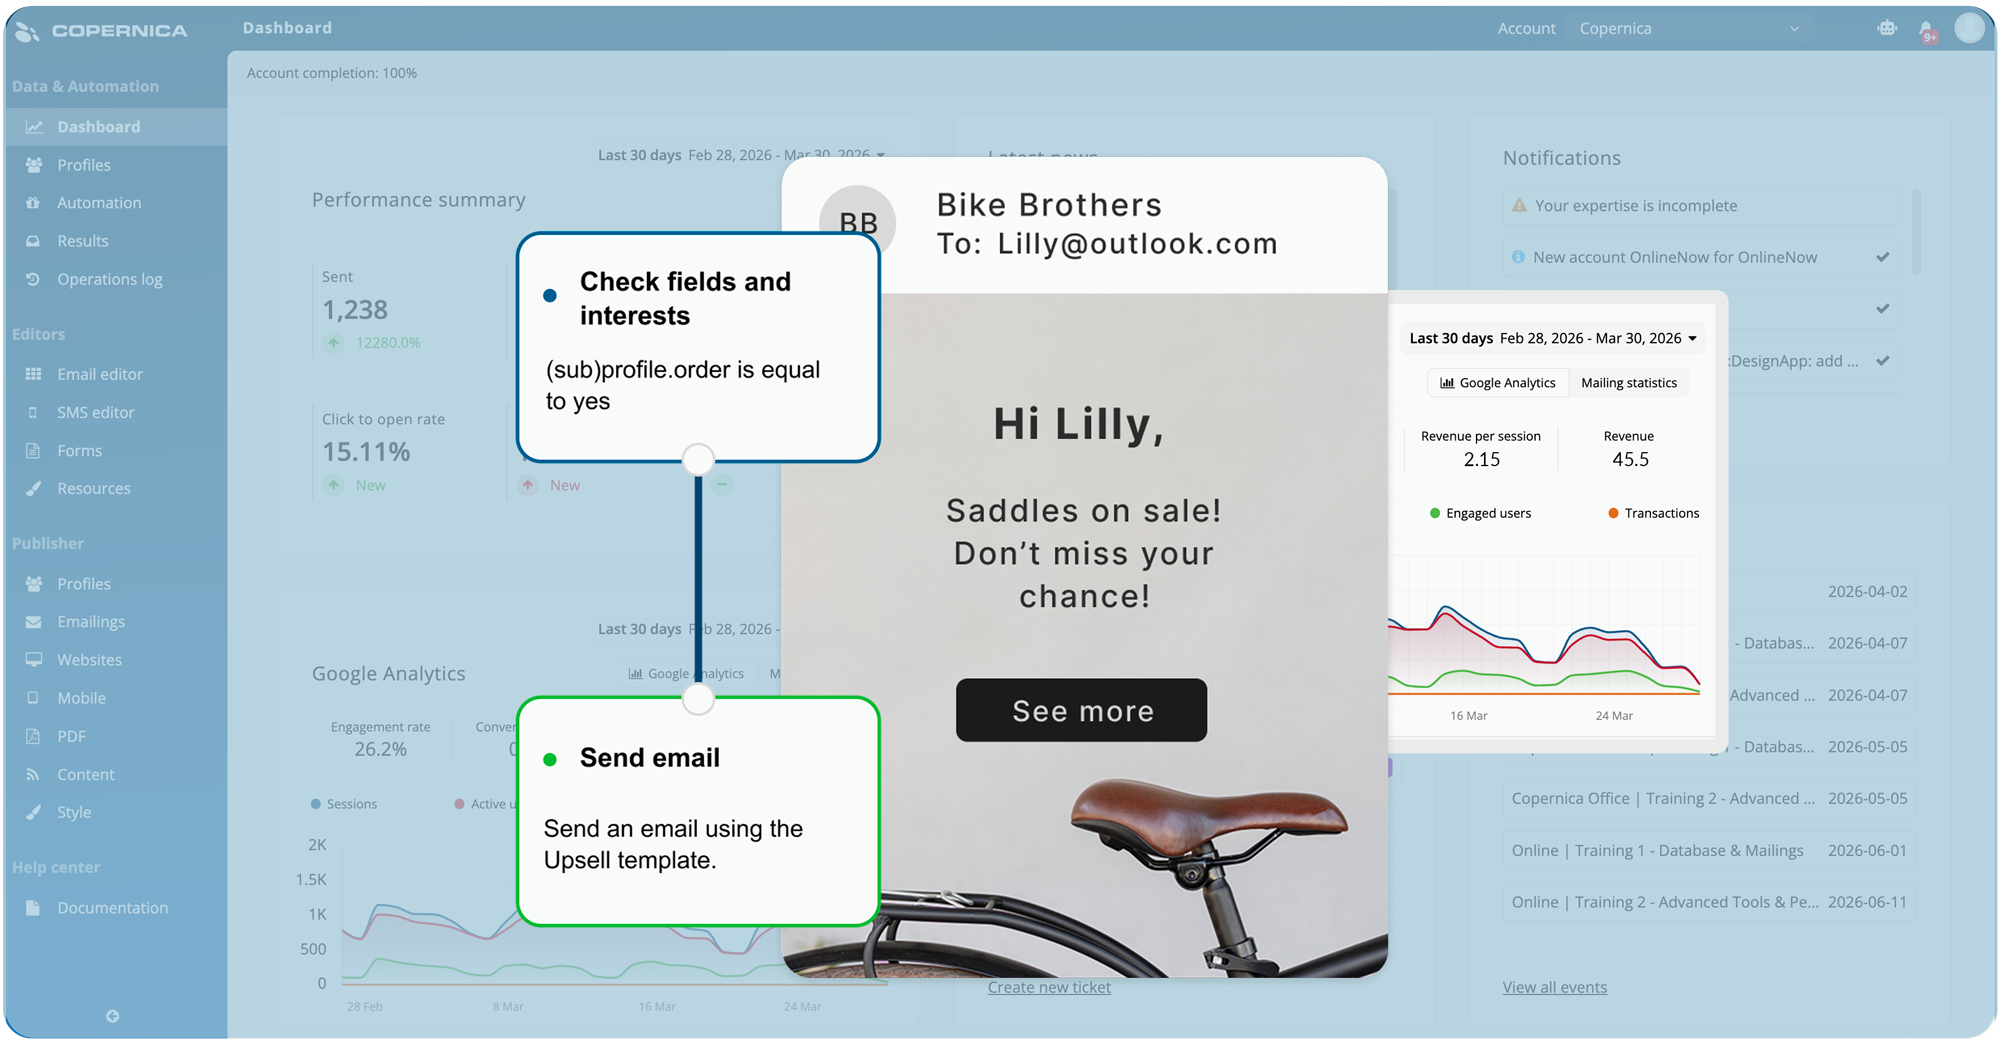
Marketing automation
Turn customer data into meaningful action with automated customer journeys. Create personalized campaigns, manage cross-channel interactions, and respond to real-time behavior with ease.
Optimize performance with scalable personalization, smart segmentation, and tools designed to deliver measurable marketing results.
Learn moreWhy choose Copernica for email & marketing automation?
Everything you need to design, automate, track, and personalize email campaigns

Email editor
Design and customize responsive email templates with an intuitive editor

Database
Centralize and enrich customer data for highly targeted campaigns
Website tracker
Monitor website activity and trigger automated campaigns in real time

Automation
Automate personalized email workflows based on customer behavior

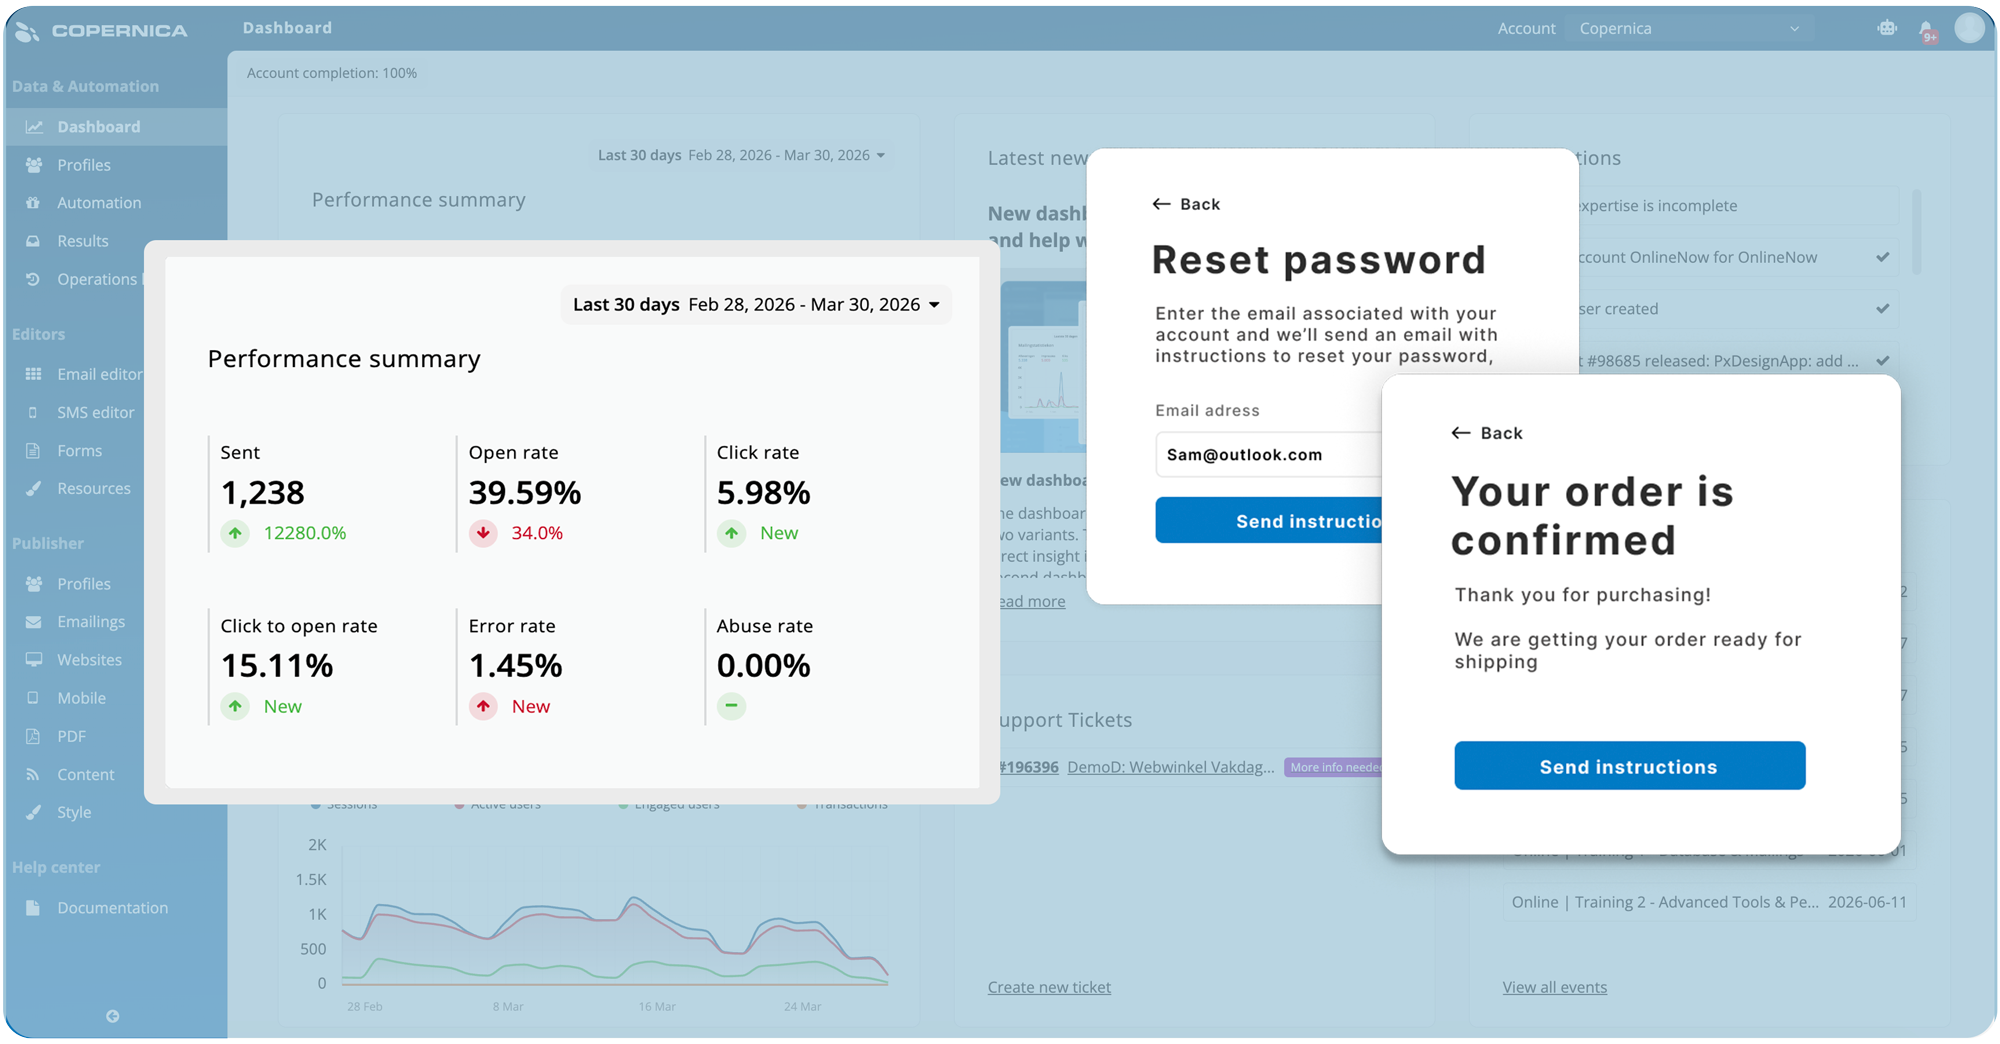
GDPR
Built-in GDPR tools to manage consent and customer data securely
Discover Marketing Suite, Copernica's advanced email and marketing automation software
View and manage all your activities in one clear and centralized dashboard
Get in touch with us
Experience it yourself
Turn customer data into personalized campaigns that drive engagement, conversions, and customer loyalty. With powerful email marketing and automation, you can create seamless customer journeys.
Meet our team of experts
In a 30-minute demo, one of our specialists will show you how our platform can support your goals, wishes, and business needs.
Request a demoWhich Copernica product is right for you?
Each product is tailored to a specific audience and use case, explore which one is the best fit for your needs

Marketing automation platform
Copernica Marketing Software is an all-in-one solution for marketing teams, CRM managers, and organizations focused on customer relationships.
- Managing campaigns across email, sms, and web
- Segmentation and personalization
- Automation and reporting

Cloud based emailsystem
SMTPeter is a cloud service to optimize your outgoing emails with authentication, statistics and improved deliverability.
- Template support
- No technical expertise needed
- Send securely and quickly

Mail transfer agent
MailerQ is an on-premise Linux-based Mail Transfer Agent (MTA) for delivering large volumes of email per day.
- Advanced queuing
- Large volumes of email
- Full control and logging
Customer success stories
An exclusive insight into the best email marketing campaigns, written in collaboration with our partners

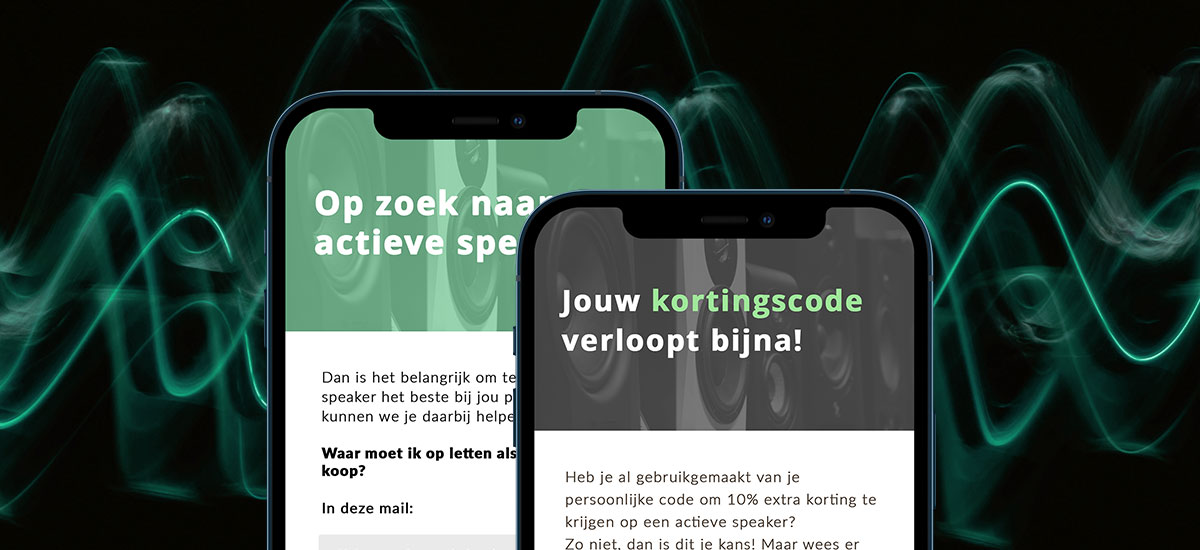
Mailmeisters generates more revenue with these automations
With the right marketing automations, you can convert visitors into buyers, save time, and make every message feel personal. In this case, we show how Mailmeisters uses essential automations via Copernica to achieve immediate results and strengthen customer relationships
MaxiAxi achieves 705% growth in email marketing
With smart email automations, MaxiAxi boosted revenue by 705% in four years, improved efficiency, and made every customer touchpoint more meaningful. In this whitepaper, we show how phased campaigns and automated journeys helped them achieve rapid growth and measurable results.

Smartphonehoesjes boosted email revenue by 200%
Smartphonehoesjes.nl set up email campaigns based on website behavior, like an abandoned browser campaign that encourages visitors to complete their purchase. They also improved reactivation campaigns to re-engage inactive customers via email.
Backed by our partner network
Our 300+ partners extend the power of our software, helping you implement, customize, and maximize results


Copernica news
The latest news of Copernica, product updates, events and new features